This is the procedure for connecting OpenShift to Lightbits software-defined storage via a CSI plugin and then deploying a workload that uses Lightbits as its persistent storage.
Prerequisites:
- An OpenShift cluster with internet access
- The Lightbits CSI driver
- OC is installed on a workstation to configure the OpenShift cluster
- console access to the OpenShift cluster
Instructions
We will be using a series of YAML files to create various components of our application, which is a simple message board. I will provide the YAML files here so they won’t have to be recreated from scratch.
1. Log in to the OCP web console.
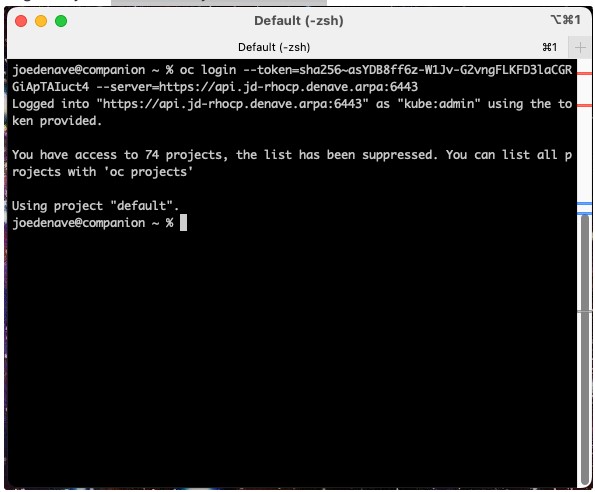
2. Log in to your terminal on your OCP cluster.
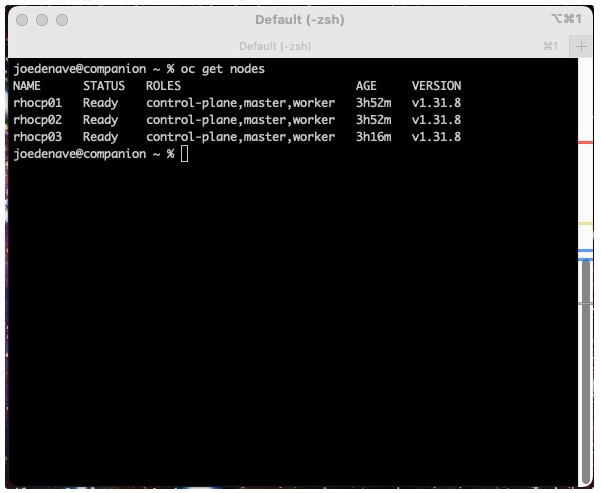
3. Make sure your nodes are ready.

1. The first step we take is to install the Lightbits CSI driver. The Lightbits CSI driver is open-sourced. To install the driver on the OCP cluster, run the following from your OC workstation.

The tar file creates the following directories: helm, k8s, examples
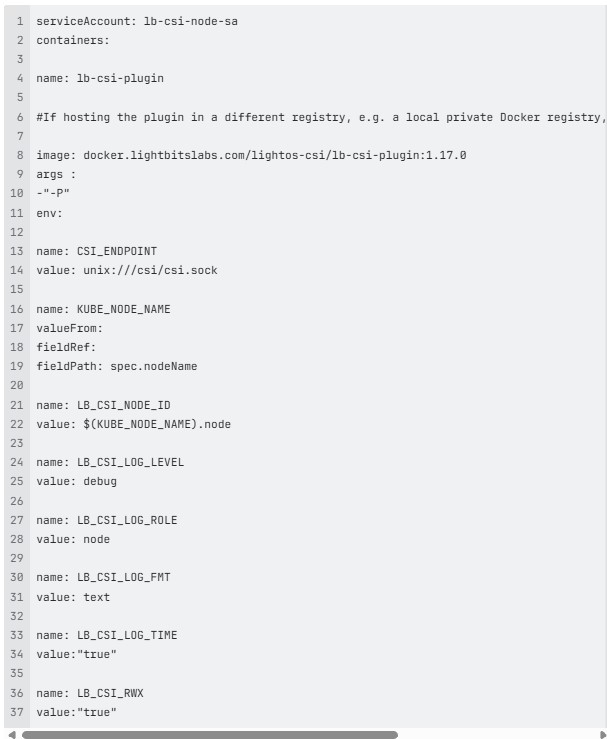
There is a file that needs to be adjusted to enable the CSI driver to use the RWX (ReadWriteMany) mode for the volume. It is located in the k8s directory and is named lb-csi-plugin-k8s-v1.30-dc.yaml. In this file, we need to create two extra entries to enable the RWX for the CSI driver. Please edit the file and add in the containers section the following two lines, (line number 313):

2. The service account lb-csi-node-sa section looks like this:
3. This also needs to be added to the section serviceAccount: lb-csi-ctrl-sa (line number 448) and looks like the following:

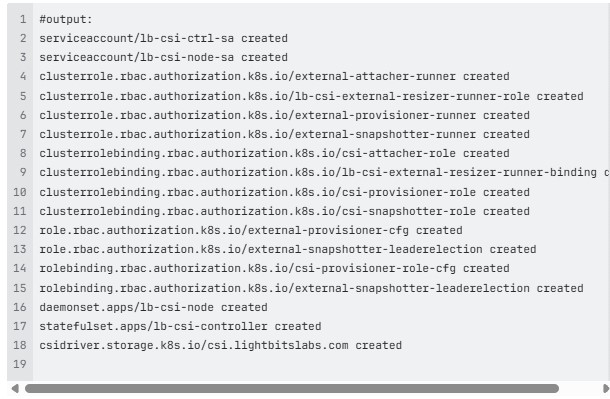
4. The next thing is to run the yaml with the kubectl command:
![]()
The output will be like the following:
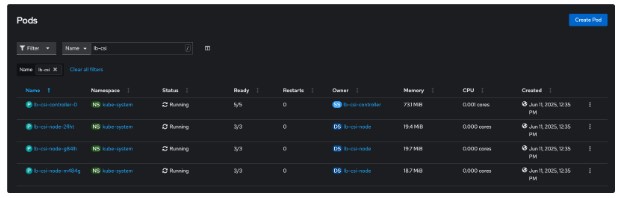
5. To verify that the Lightbits pods are running:
![]()
The output will be similar to the following:

The CSI driver is now configured to work with RWX. This is also visible in the GUI:
Next, we want to configure a secret for the Lightbits cluster, define the default storage class as Lightbits, and create a project for this workload to run under.
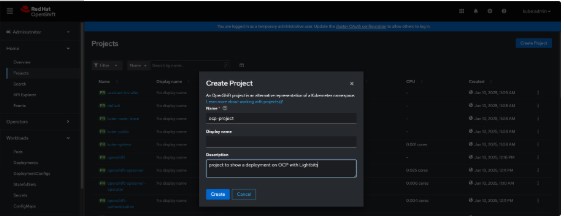
1. Create the project:
2. Within the Lightbits CSI bundle, there are folders containing various examples for secrets and storage classes. I created the following using the lightos_jwt from my Lightbits nodes. I then made it base64 to work with OCP.
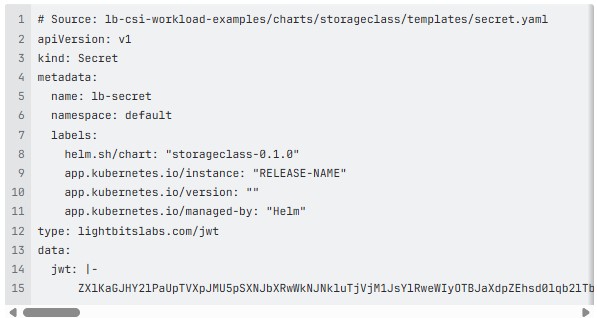
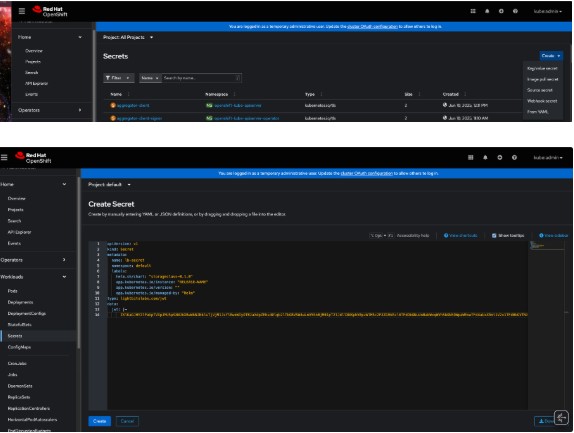
3. Go to Workloads, then Secrets in the GUI, and paste the secret file using the ‘Create from YAML’ option.
5. The next step is to create the default storage class.
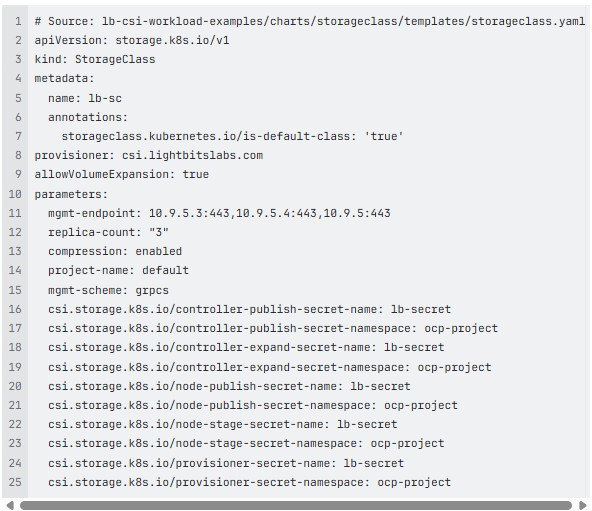
6. Note that I have defined this as the default Storage Class for this cluster in the annotations section.

7. With all the setup complete, we can deploy a workload on our Kubernetes cluster using Lightbits storage as a backend. I am using the Unifi network controller application. First, we need to deploy the persistent volume claim with the Lightbits storage class lb-sc.
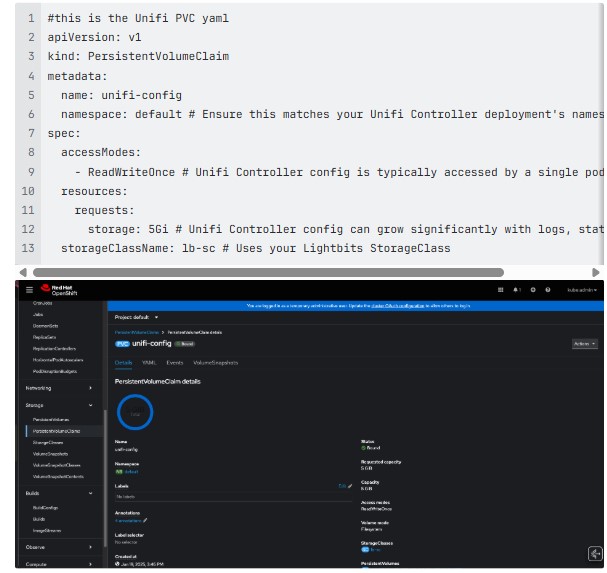
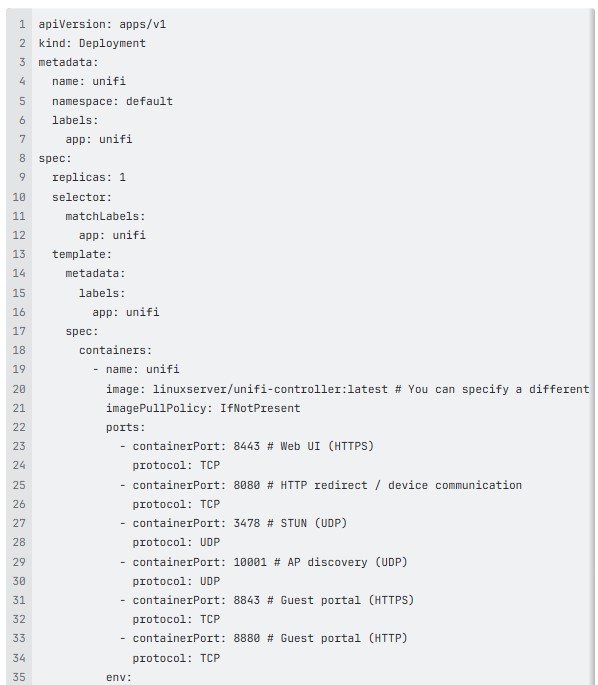
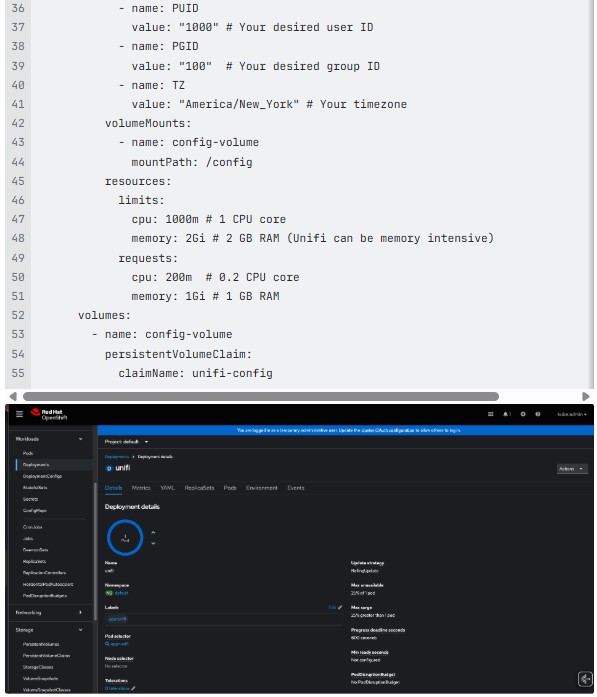
8. After the PVC is bound, we need to create the deployment. This may take some time, depending on the availability of resources.
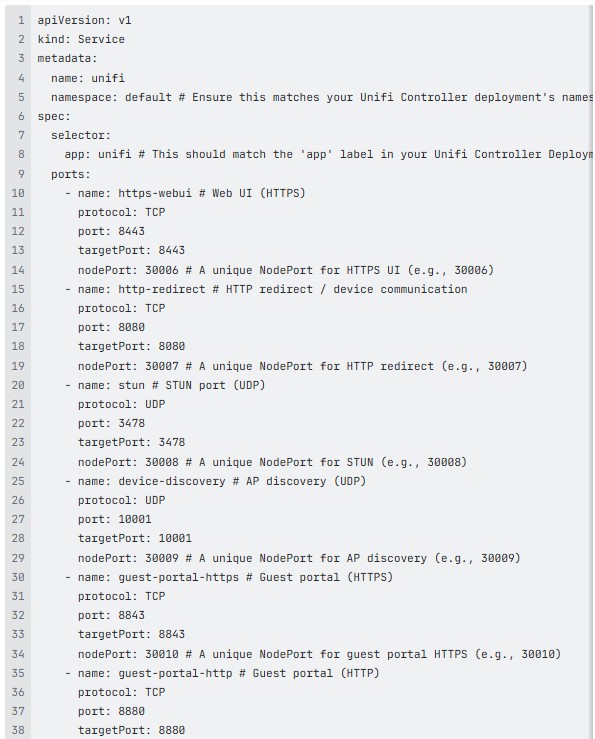
9. Lastly, we need to expose this deployment outside of the Kubernetes cluster so it’s usable. We do this with a service.yaml
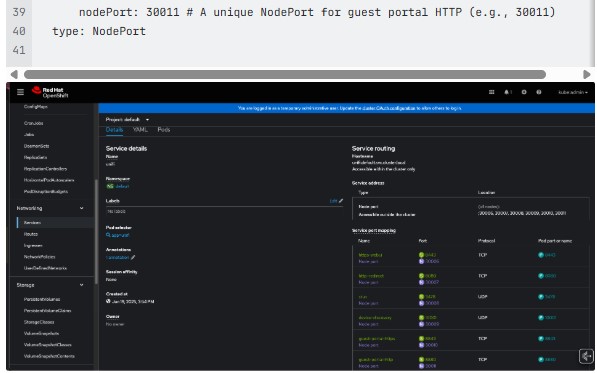
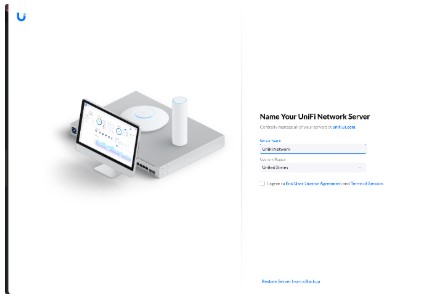
10. Open a browser and point it to <your-url>:30006
This procedure can be used for any application you wish to deploy. You will need to modify the YAML files to suit the application you are deploying, whether it is a simple one like this or a multi-tier application with a database backend.
Visit Lightbits Homepage for more information or to schedule a demo with me.